はじめに
CentOS7にLAMP環境の構築とWordPressの導入・動作確認までの手順書を記載します。
尚、今回は勉強用のためファイアウォールやSELinuxを止めて操作を行います。
今回インストールと動作確認するサービス
- Apache Ver.2.4.6
- PHP Ver.8.2.17
- MariaDB Ver.10.11.7
- phpMyAdmin Ver.5.2.1
- vsftp Ver.3.0.2
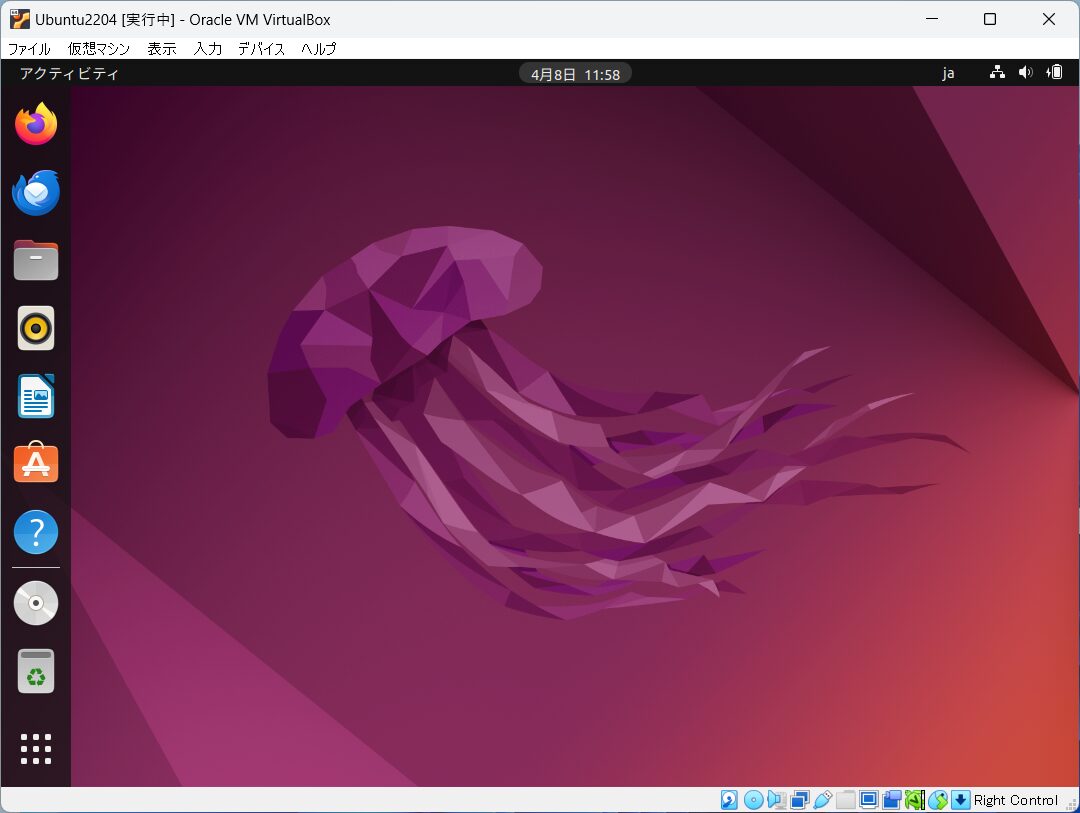
前提条件
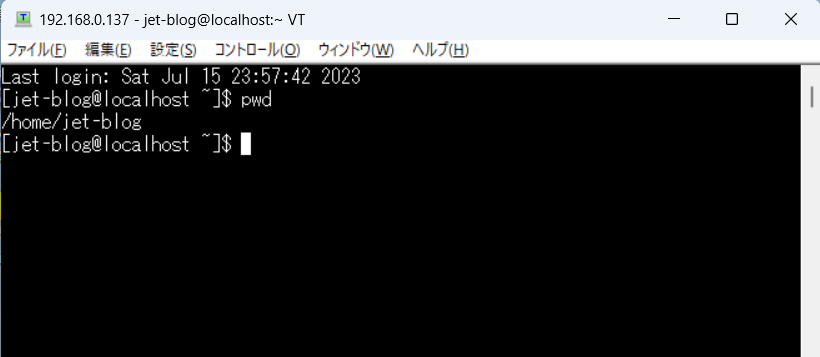
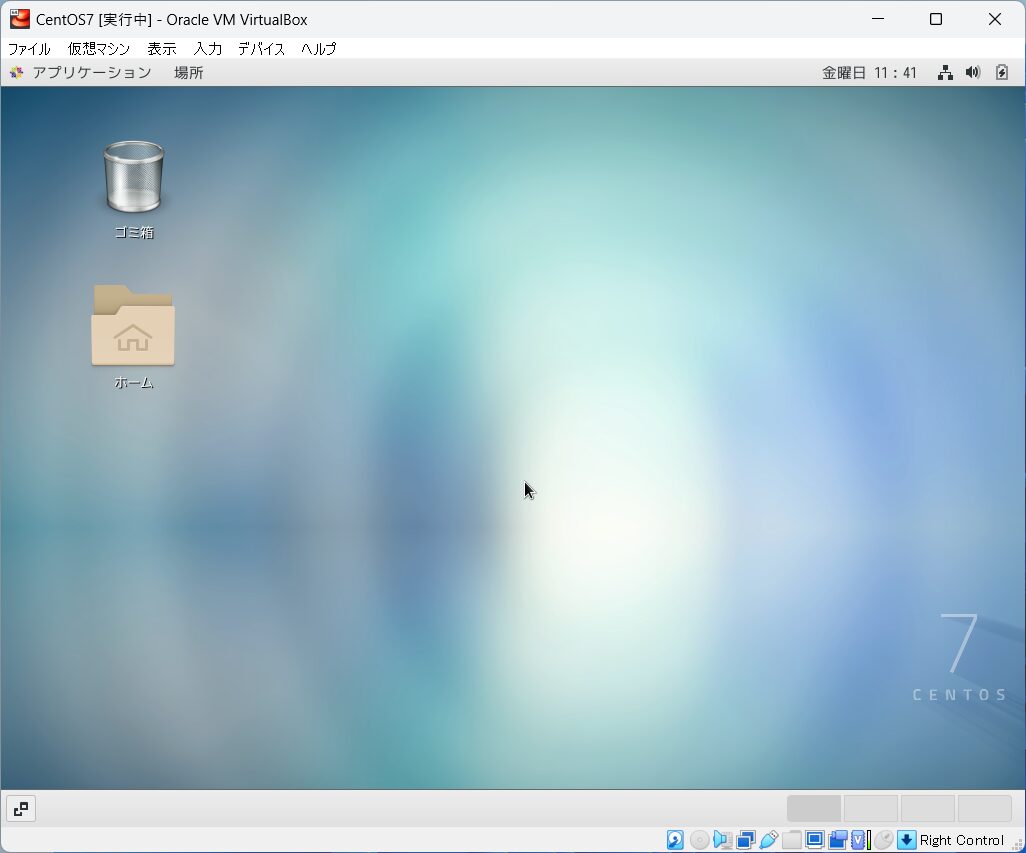
下記の記事で仮想環境が準備できており、Tera TermでSSH接続できている事です。
一般ユーザーからrootユーザーに切り替え
su -
実行結果
パスワード:
説明
パスワードの入力を求められるので、rootユーザーのパスワードを入力してください。
※入力できていないように見えますが、入力できています。
ファイアウォールの無効化
状態を確認
systemctl status firewalld
実行結果
● firewalld.service - firewalld - dynamic firewall daemon
   Loaded: loaded (/usr/lib/systemd/system/firewalld.service; enabled; vendor preset: enabled)
   Active: active (running) since 土 2024-04-06 19:03:32 JST; 8s ago
説明
Active: active (running) と表示されていたら起動中です。
止める
systemctl stop firewalld
状態を再確認
systemctl status firewalld
実行結果
● firewalld.service - firewalld - dynamic firewall daemon
   Loaded: loaded (/usr/lib/systemd/system/firewalld.service; enabled; vendor preset: enabled)
   Active: inactive (dead) since 土 2024-04-06 19:08:26 JST; 5s ago
説明
Active: inactive (dead) と表示されていたら止まっています。
自動起動設定を確認
systemctl is-enabled firewalld
実行結果
enabled
説明
enabled と表示されていたら、次回起動時に自動起動します。
この設定を無効化します。
自動起動設定を無効化
systemctl disable firewalld
実行結果
Removed symlink /etc/systemd/system/multi-user.target.wants/firewalld.service.
Removed symlink /etc/systemd/system/dbus-org.fedoraproject.FirewallD1.service.
自動起動設定を再確認
systemctl is-enabled firewalld
実行結果
disabled
説明
disabled と表示されていたら、自動起動設定を無効化できています。
SELinuxの無効化
設定の確認
getenforce
実行結果
Enforcing
説明
Enforcing と表示されていたら、SELinuxが有効です。
この設定を無効化します。
無効化の設定
vim /etc/selinux/config
下記の通り設定を変更してください。
SELINUX=enforcing
↓
SELINUX=disabled
# This file controls the state of SELinux on the system.
# SELINUX= can take one of these three values:
#     enforcing - SELinux security policy is enforced.
#     permissive - SELinux prints warnings instead of enforcing.
#     disabled - No SELinux policy is loaded.
# SELINUX=enforcing
SELINUX=disabled
# SELINUXTYPE= can take one of three values:
#     targeted - Targeted processes are protected,
#     minimum - Modification of targeted policy. Only selected processes are protected.
#     mls - Multi Level Security protection.
SELINUXTYPE=targeted
変更後、CentOS7を再起動してください。
shutdown -r now
※再起動後、一般ユーザーからrootユーザーに切り替えを忘れずに!!
su -
無効化の確認
getenforce
実行結果
Disabled
説明
Disabled と表示されていたら、SELinuxを無効化できています。
Apacheのインストール
インストール
yum install -y httpd
ドキュメンルートの変更準備 (必要な人だけ)
ドキュメンルートを /var/www/httml → /home/jet-blog/html に変更する場合
mkdir -p /home/jet-blog/html
chown -R jet-blog:jet-blog /home/jet-blog/html
chmod +x /home/jet-blog
usermod -a -G apache jet-blog
ドキュメンルートの設定書き換え (必要な人だけ)
vim /etc/httpd/conf/httpd.conf
※119行目付近 : DocumentRoot
※131行目付近 : <Directory>
/var/www/httml → /home/jet-blog/html に変更する場合
変更前
...省略...

# DocumentRoot: The directory out of which you will serve your
# documents. By default, all requests are taken from this directory, but
# symbolic links and aliases may be used to point to other locations.
#
DocumentRoot "/var/www/html"

#
# Relax access to content within /var/www.
#
<Directory "/var/www">
    AllowOverride None
    # Allow open access:
    Require all granted
</Directory>

# Further relax access to the default document root:
<Directory "/var/www/html">
    #
    # Possible values for the Options directive are "None", "All",

...省略...
変更後
...省略...

# DocumentRoot: The directory out of which you will serve your
# documents. By default, all requests are taken from this directory, but
# symbolic links and aliases may be used to point to other locations.
#
DocumentRoot "/home/jet-blog/html"

#
# Relax access to content within /var/www.
#
<Directory "/var/www">
    AllowOverride None
    # Allow open access:
    Require all granted
</Directory>

# Further relax access to the default document root:
<Directory "/home/jet-blog/html">
    #
    # Possible values for the Options directive are "None", "All",
...省略...
起動
systemctl start httpd
起動状態の確認
systemctl status httpd
実行結果
● httpd.service - The Apache HTTP Server
   Loaded: loaded (/usr/lib/systemd/system/httpd.service; disabled; vendor preset: disabled)
   Active: active (running) since 土 2024-04-06 20:20:21 JST; 5s ago
説明
Active: active (running) と表示されていたら起動中です。
自動起動設定を有効化
systemctl enable httpd
実行結果
Created symlink from /etc/systemd/system/multi-user.target.wants/httpd.service to /usr/lib/systemd/system/httpd.service.
自動起動設定を確認
systemctl is-enabled httpd
実行結果
enabled
説明
enabled と表示されていたら、次回起動時に自動起動します。
Apacheにアクセスする
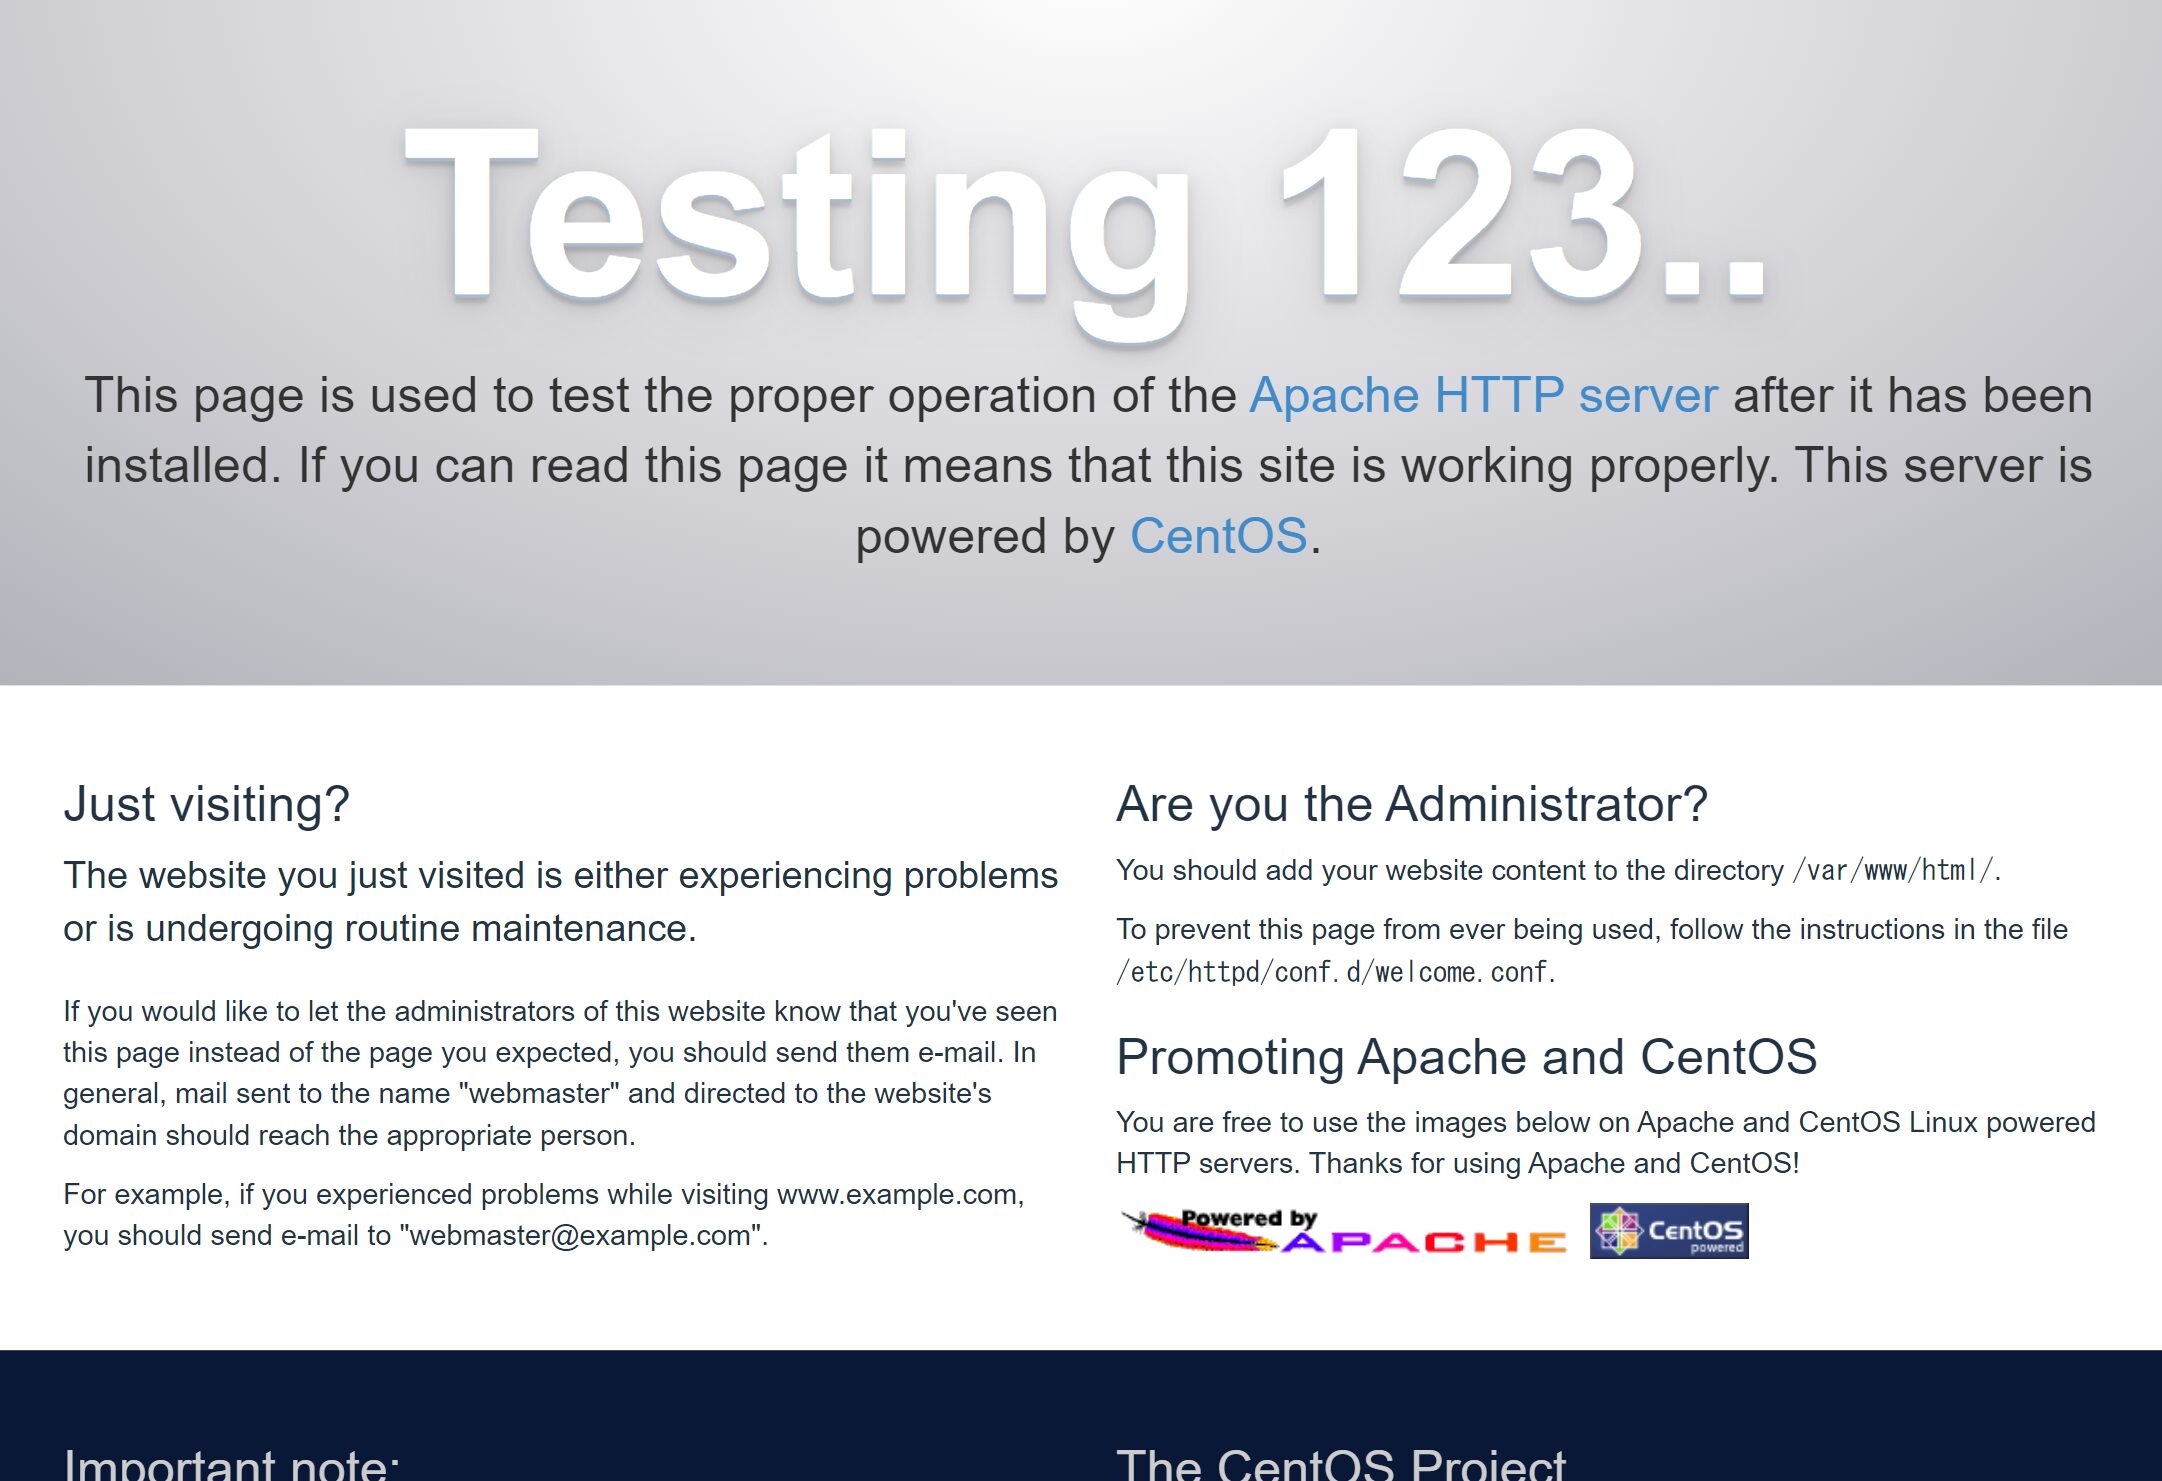
http://localhost/ にブラウザでアクセスしてください。
Apacheのデフォルト画面が表示されます。
PHPのインストール
remiレポジトリの追加
yum install -y https://rpms.remirepo.net/enterprise/remi-release-7.rpm
PHP 8.2.xのインストール
yum install -y −−enablerepo=remi-php82 php82 php82-php php82-php-xml php82-php-xmlrpc php82-php-pecl-mcrypt php82-php-fpm php82-php-pecl-apcu php82-php-mbstring php82-php-gd php82-php-json php82-php-pecl-json-post php82-php-pdo php82-php-mysqlnd php82-php-pecl-mysql php82-php-opcache php82-php-pear php82-php-soap php82-php-intl php82-php-pear
シンボリックリンク作成
ln -sf /usr/bin/php82 /usr/bin/php
インストールの確認
php -v
実行結果
PHP 8.2.17 (cli) (built: Mar 12 2024 14:26:30) (NTS gcc x86_64)
...省略...
説明
PHP 8.2.17 が今回インストールされたPHPのVersionです。
Apache再起動
systemctl restart httpd
MariaDBのインストール
レポジトリファイルの作成
vim /etc/yum.repos.d/mariadb.repo
説明
新規作成で空のファイルが開かれます。
下記内容を貼り付けてください。
# MariaDB 10.11 CentOS repository list - created 2024-04-06 04:50 UTC
# https://mariadb.org/download/
[mariadb]
name = MariaDB
# rpm.mariadb.org is a dynamic mirror if your preferred mirror goes offline. See https://mariadb.org/mirrorbits/ for details.
# baseurl = https://rpm.mariadb.org/10.11/centos/$releasever/$basearch
baseurl = https://ftp.yz.yamagata-u.ac.jp/pub/dbms/mariadb/yum/10.11/centos/$releasever/$basearch
module_hotfixes = 1
# gpgkey = https://rpm.mariadb.org/RPM-GPG-KEY-MariaDB
gpgkey = https://ftp.yz.yamagata-u.ac.jp/pub/dbms/mariadb/yum/RPM-GPG-KEY-MariaDB
gpgcheck = 1
enable=1
インストール
yum install -y MariaDB-devel MariaDB-client MariaDB-server
起動
systemctl start mariadb
起動状態の確認
systemctl status mariadb
実行結果
● mariadb.service - MariaDB 10.11.7 database server
   Loaded: loaded (/usr/lib/systemd/system/mariadb.service; disabled; vendor preset: disabled)
  Drop-In: /etc/systemd/system/mariadb.service.d
           mqmigrated-from-my.cnf-settings.conf
   Active: active (running) since 日 2024-04-07 09:50:49 JST; 6s ago
説明
Active: active (running) と表示されていたら起動中です。
自動起動設定を有効化
systemctl enable mariadb
実行結果
Created symlink from /etc/systemd/system/multi-user.target.wants/mariadb.service to /usr/lib/systemd/system/mariadb.service.
自動起動設定を確認
systemctl is-enabled mariadb
実行結果
enabled
説明
enabled と表示されていたら、次回起動時に自動起動します。
初期設定スクリプト実行
mariadb-secure-installation
質問形式でMariaDBの初期設定を行ってくれます。
- Enter current password for root (enter for none):
- MariaDBの現在のrootパスワードを入力してください。
- 初期はパスワード無し(none)なので、そのままEnter
- MariaDBの現在のrootパスワードを入力してください。
- Switch to unix_socket authentication [Y/n]
- unix_socket認証に切り替えます。
- 「Y」を入力してEnterキー
- unix_socket認証に切り替えます。
- Change the root password? [Y/n]
- Rootのパスワードを変更しますか?
- 「Y」を入力してEnterキー
- パスワードを入力してください。
- Rootのパスワードを変更しますか?
- Remove anonymous users? [Y/n]
- 匿名ユーザーを削除しますか?
- 「Y」を入力してEnterキー
- 匿名ユーザーを削除しますか?
- Disallow root login remotely? [Y/n]
- リモートからのrootログインを無効にしますか?
- 「n」を入力してEnterキー
- リモートからのrootログインを無効にしますか?
- Remove test database and access to it? [Y/n]
- testデータベースとアクセス権限を削除しますか?
- 「n」を入力してEnterキー
- testデータベースとアクセス権限を削除しますか?
- Reload privilege tables now? [Y/n]
- 特権テーブルを今すぐ再読み込みしますか?
- 「Y」を入力してEnterキー
- 特権テーブルを今すぐ再読み込みしますか?
NOTE: RUNNING ALL PARTS OF THIS SCRIPT IS RECOMMENDED FOR ALL MariaDB
      SERVERS IN PRODUCTION USE!  PLEASE READ EACH STEP CAREFULLY!

In order to log into MariaDB to secure it, we'll need the current
password for the root user. If you've just installed MariaDB, and
haven't set the root password yet, you should just press enter here.

Enter current password for root (enter for none):
OK, successfully used password, moving on...

Setting the root password or using the unix_socket ensures that nobody
can log into the MariaDB root user without the proper authorisation.

You already have your root account protected, so you can safely answer 'n'.

Switch to unix_socket authentication [Y/n] Y
Enabled successfully!
Reloading privilege tables..
 ... Success!


You already have your root account protected, so you can safely answer 'n'.

Change the root password? [Y/n] Y
New password:
Re-enter new password:
Password updated successfully!
Reloading privilege tables..
 ... Success!


By default, a MariaDB installation has an anonymous user, allowing anyone
to log into MariaDB without having to have a user account created for
them.  This is intended only for testing, and to make the installation
go a bit smoother.  You should remove them before moving into a
production environment.

Remove anonymous users? [Y/n] Y
 ... Success!

Normally, root should only be allowed to connect from 'localhost'.  This
ensures that someone cannot guess at the root password from the network.

Disallow root login remotely? [Y/n] n
 ... skipping.

By default, MariaDB comes with a database named 'test' that anyone can
access.  This is also intended only for testing, and should be removed
before moving into a production environment.

Remove test database and access to it? [Y/n] n
 ... skipping.

Reloading the privilege tables will ensure that all changes made so far
will take effect immediately.

Reload privilege tables now? [Y/n] Y
 ... Success!

Cleaning up...

All done!  If you've completed all of the above steps, your MariaDB
installation should now be secure.

Thanks for using MariaDB!
MariaDBにユーザーの追加と特権の設定
MariaDBにログイン
mysql -u root -p
実行結果
Enter password:
説明
MariaDBのrootユーザーのパスワードを入力してください。
※CentOS7のrootユーザーのパスワードではありません。
ユーザーの追加
CREATE USER 'jet-blog'@'%' IDENTIFIED BY 'password';
特権の設定と反映
GRANT ALL PRIVILEGES ON *.* TO 'jet-blog'@'%' WITH GRANT OPTION;
FLUSH PRIVILEGES;
MariaDBからログアウト
exit;
phpMyAdminのインストール
インストール
yum install -y --enablerepo=remi,remi-php82 phpMyAdmin
Apacheの再起動
systemctl restart httpd
phpMyAdminを外部のPCからアクセスさせる設定
vim /etc/httpd/conf.d/phpMyAdmin.conf
下記の通り設定を変更してください。
Require local
↓
Require all granted
# phpMyAdmin - Web based MySQL browser written in php
#
# Allows only localhost by default
#
# But allowing phpMyAdmin to anyone other than localhost should be considered
# dangerous unless properly secured by SSL

Alias /phpMyAdmin /usr/share/phpMyAdmin
Alias /phpmyadmin /usr/share/phpMyAdmin

<Directory /usr/share/phpMyAdmin/>
   AddDefaultCharset UTF-8

   #Require local
   Require all granted
</Directory>

...省略...
Apacheの再起動
systemctl restart httpd
phpMyAdminにアクセスする
http://localhost/phpmyadmin にブラウザでアクセスしてください。
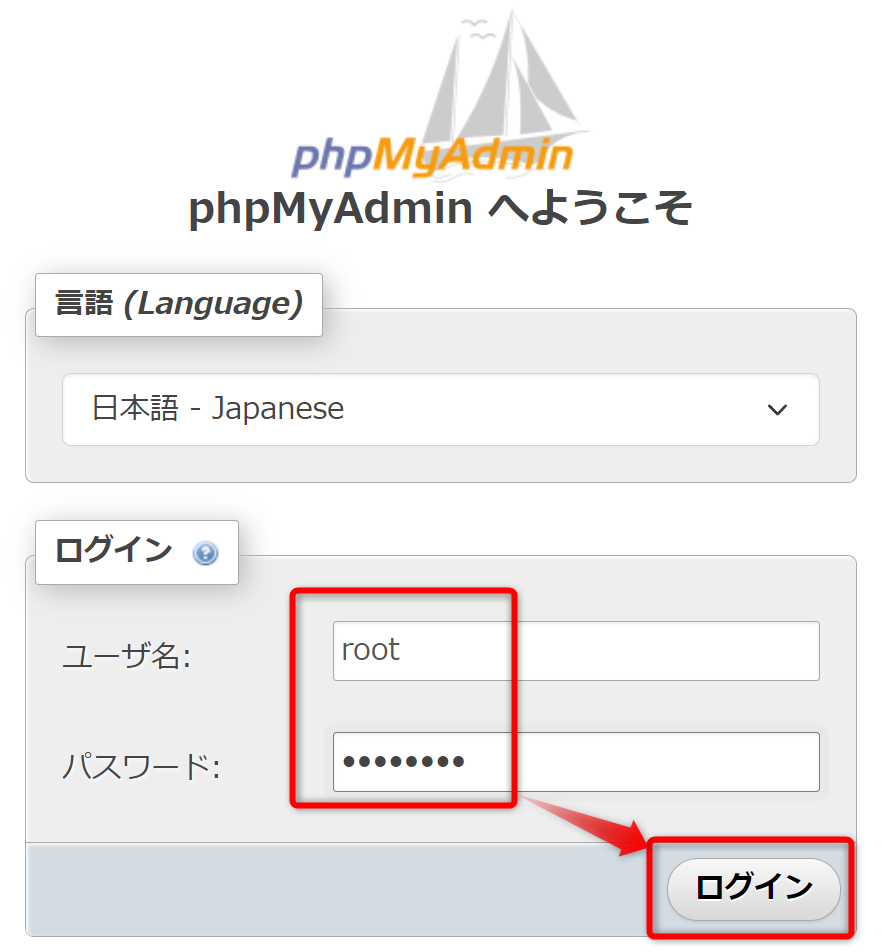
ユーザー名とパスワードを入力してください。
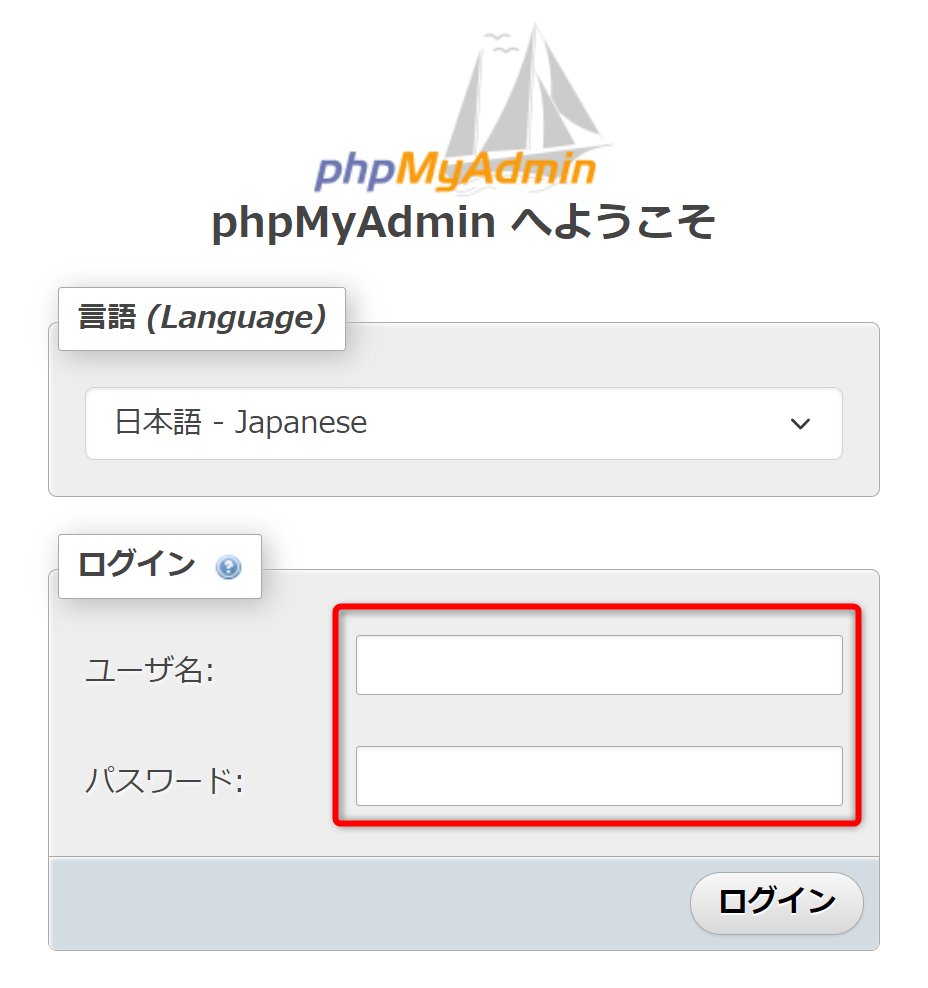
入力できたら「実行」をクリックしてください。
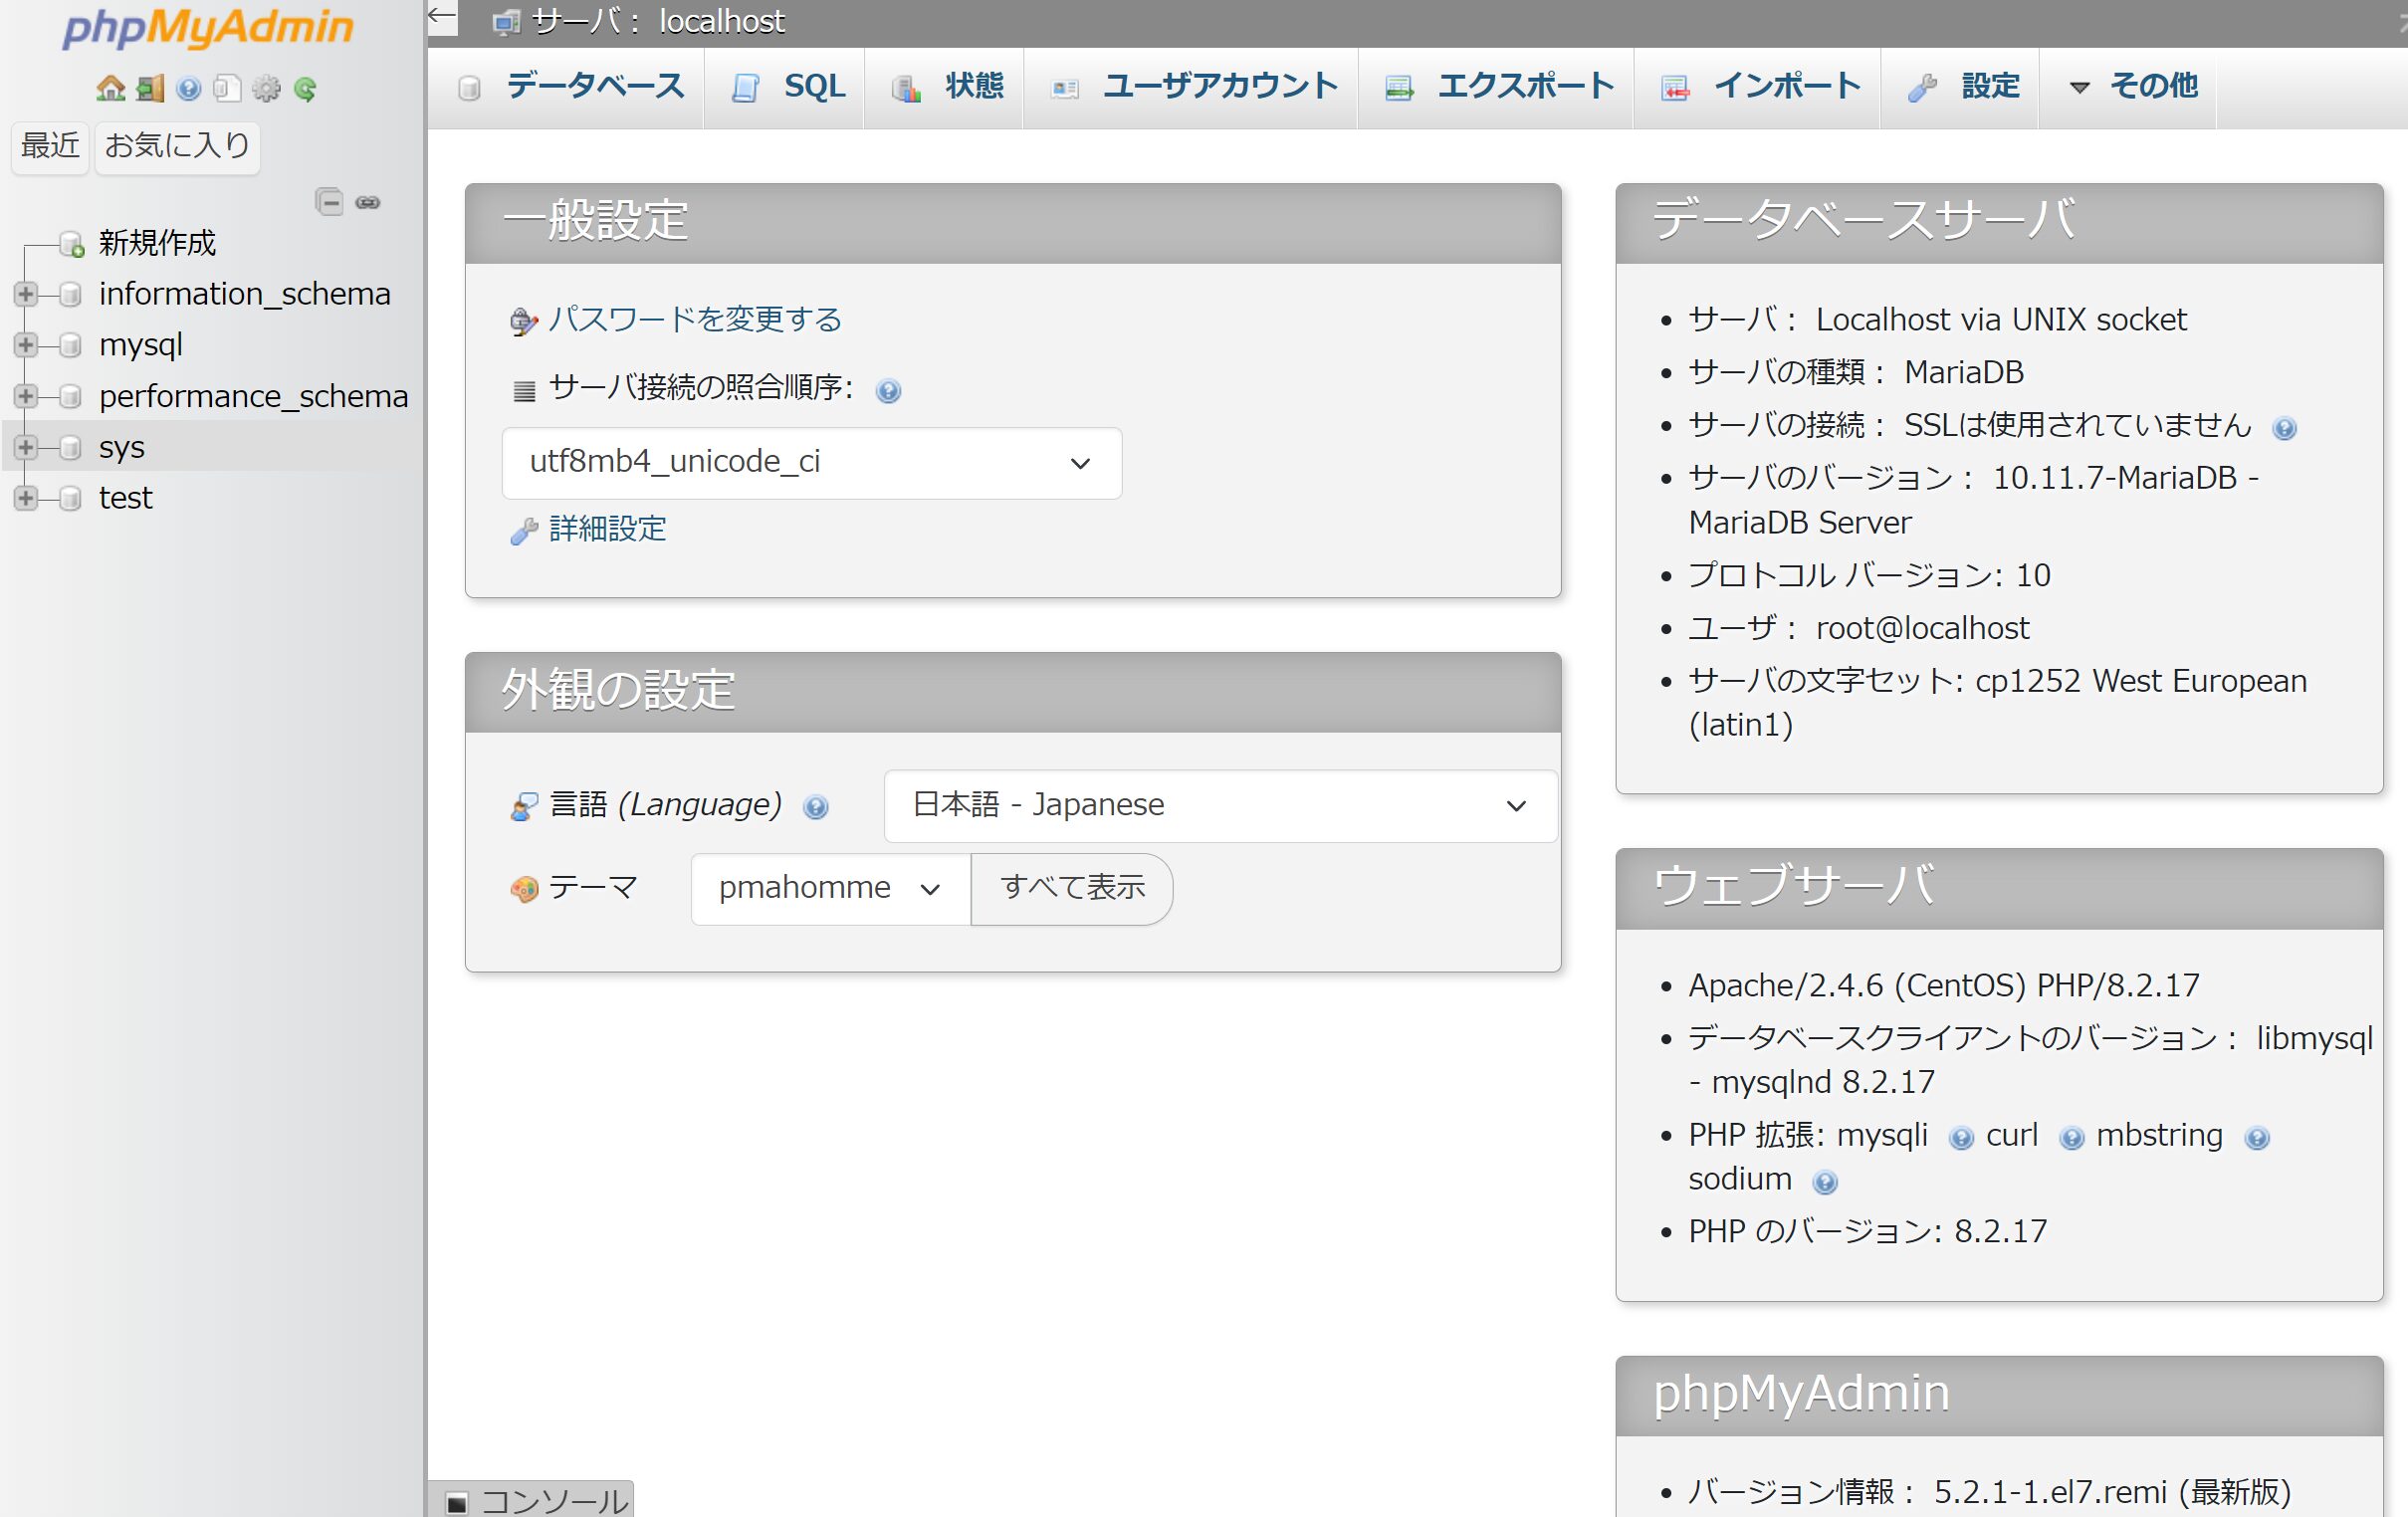
phpMyAdminの画面が表示されます。
vsftpdのインストール
インストール
yum install -y vsftpd
起動
systemctl start vsftpd
起動状態の確認
systemctl status vsftpd
実行結果
● vsftpd.service - Vsftpd ftp daemon
   Loaded: loaded (/usr/lib/systemd/system/vsftpd.service; disabled; vendor preset: disabled)
   Active: active (running) since 日 2024-04-07 10:36:54 JST; 4s ago
説明
Active: active (running) と表示されていたら起動中です。
自動起動設定を有効化
systemctl enable vsftpd
実行結果
Created symlink from /etc/systemd/system/multi-user.target.wants/vsftpd.service to /usr/lib/systemd/system/vsftpd.service.
自動起動設定を確認
systemctl is-enabled vsftpd
実行結果
enabled
説明
enabled と表示されていたら、次回起動時に自動起動します。
初期設定
vim /etc/vsftpd/vsftpd.conf
設定項目
12行目:匿名ユーザのアクセスを拒否する
「YES」→「NO」に変更
anonymous_enable=NO
19行目:ファイルシステムを変更するFTPコマンドを許可する
「NO」であれば「YES」に変更
write_enable=YES
23行目:アップロード時のパーミッション書き換え設定
「022」であれば「000」に変更
local_umask=000
83行目:アスキーモードのアップロードを許可する
「#」を削除して有効化
ascii_upload_enable=YES
84行目:アスキーモードのダウンロードを許可する
「#」を削除して有効化
ascii_download_enable=YES
101行目:設定したディレクトリより上層への移動を禁止する
「#」を削除して有効化
chroot_local_user=YES
102行目:YESの場合、リストアップされたユーザはchrootの対象から除外される
「#」を削除して有効化
chroot_list_enable=YES
104行目:リストアップのファイルの場所を指定する
「#」を削除して有効化
chroot_list_file=/etc/vsftpd/chroot_list
110行目:サブフォルダを含む一括アップロード・ダウンロードを出来るようにする
「#」を削除して有効化
ls_recurse_enable=YES
115行目 : IPv4の接続を有効化
「NO」であれば「YES」に変更
listen=YES
124行目 : IPv6の接続を無効化
「YES」であれば「NO」に変更
listen_ipv6=NO
128行目 : TCP Wrapperを無効化
「YES」であれば「NO」に変更
tcp_wrappers=NO
最終行に設定を新規追加
use_localtime=YES
pasv_enable=NO
アクセス許可をするユーザを設定する
vim /etc/vsftpd/chroot_list
新規(空)ファイルとして開かれます。
今回は例として「jet-blog」ユーザを1行追加する。
vsftpdの再起動
systemctl restart vsftpd
WordPressのインストール
ダウンロード
cd /var/www/html
wget https://ja.wordpress.org/latest-ja.tar.gz
解凍
tar xvf latest-ja.tar.gz
ディレクトリの所有者をapacheに変更
chown -R apache:apache .
WordPress用のデータベースを作成
MariaDBにログイン
mysql -u root -p
WordPress用のデータベースを作成
create database wordpress default character set utf8;
WordPress用のユーザーを作成
GRANT ALL ON wordpress.* TO wordpress@localhost IDENTIFIED BY 'password';
FLUSH PRIVILEGES;
quit
WordPressの初期設定
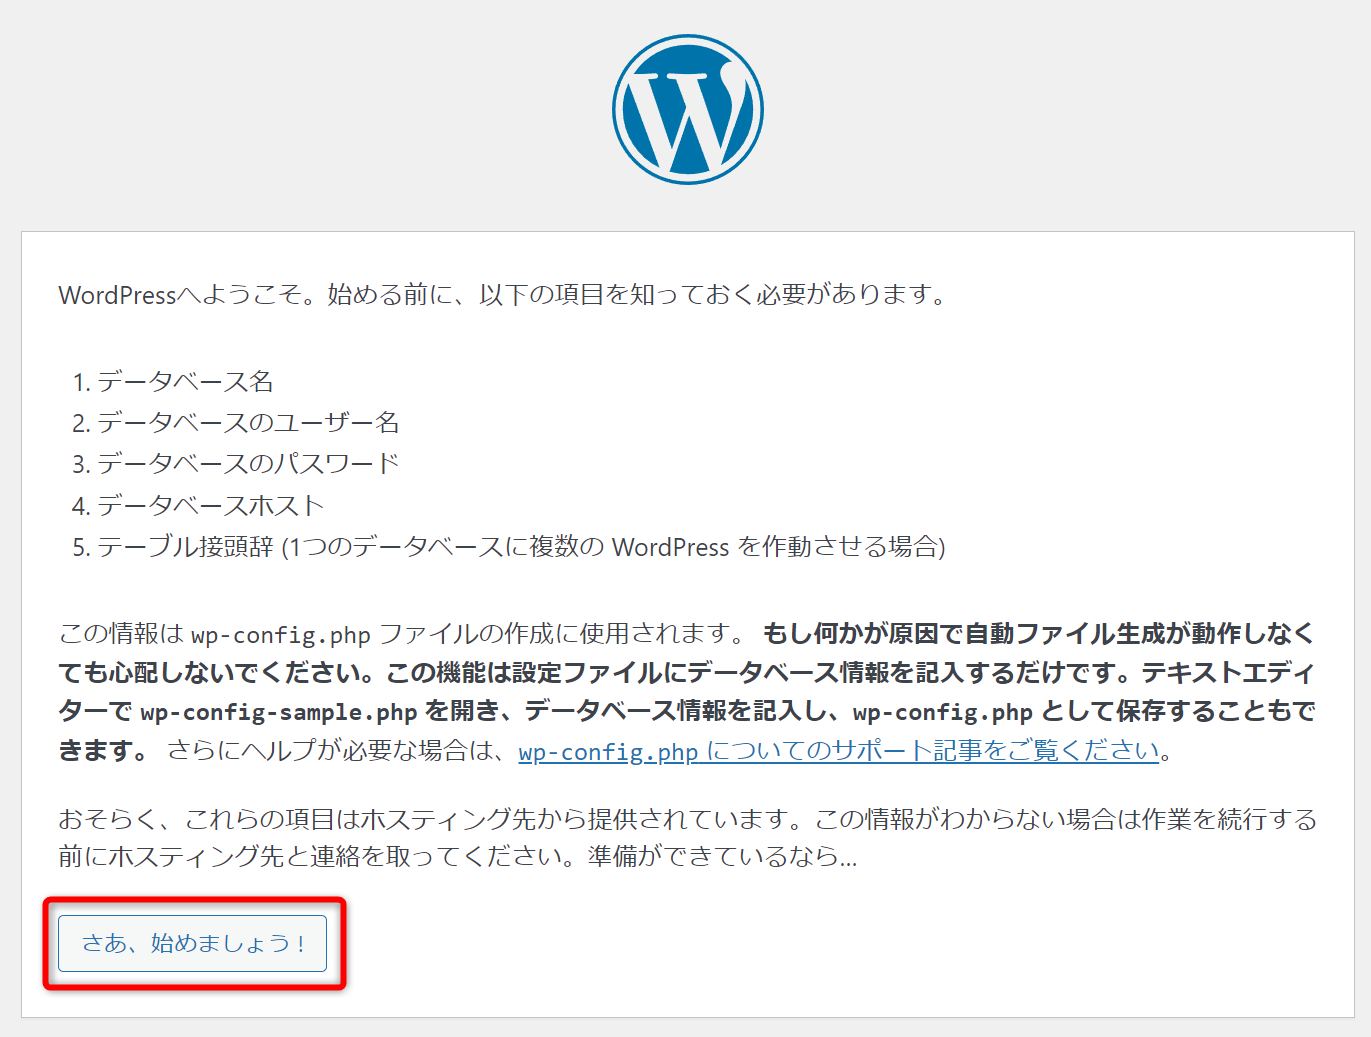
http://localhost/wordpress にブラウザでアクセスしてください。
「さあ、始めましょう!」をクリックしてください。
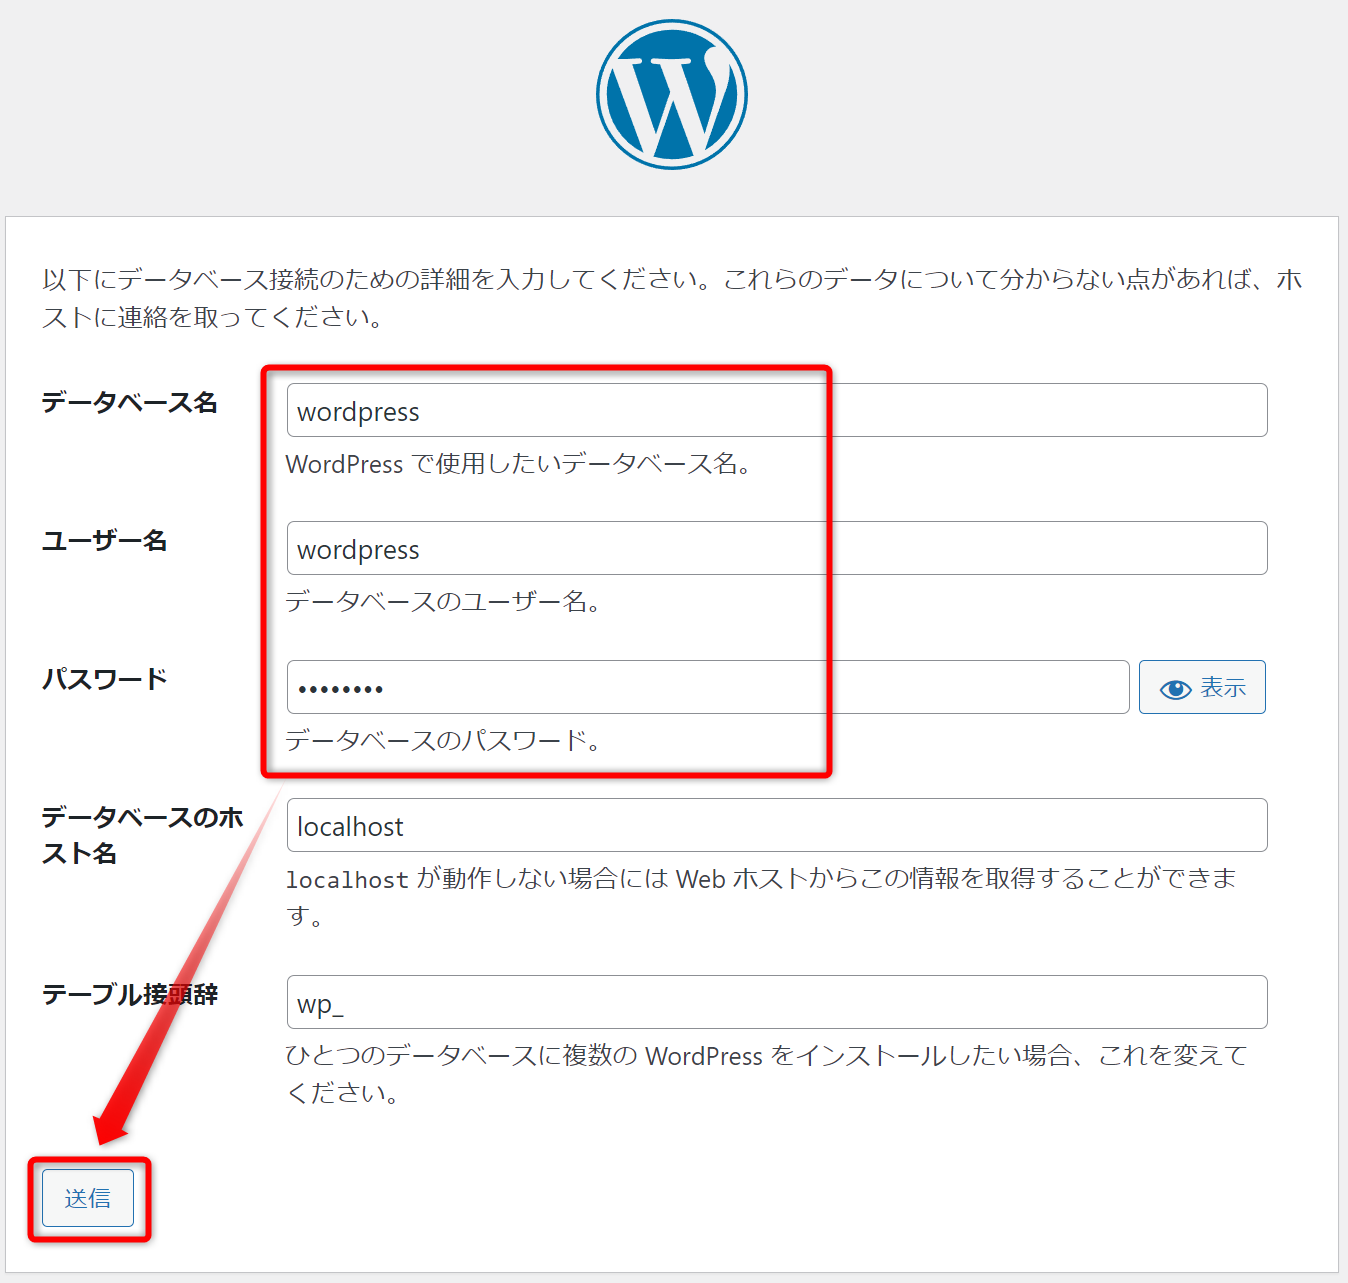
データベース名 : wordpress
ユーザー名 : wordpress
パスワード : password
を入力してください。
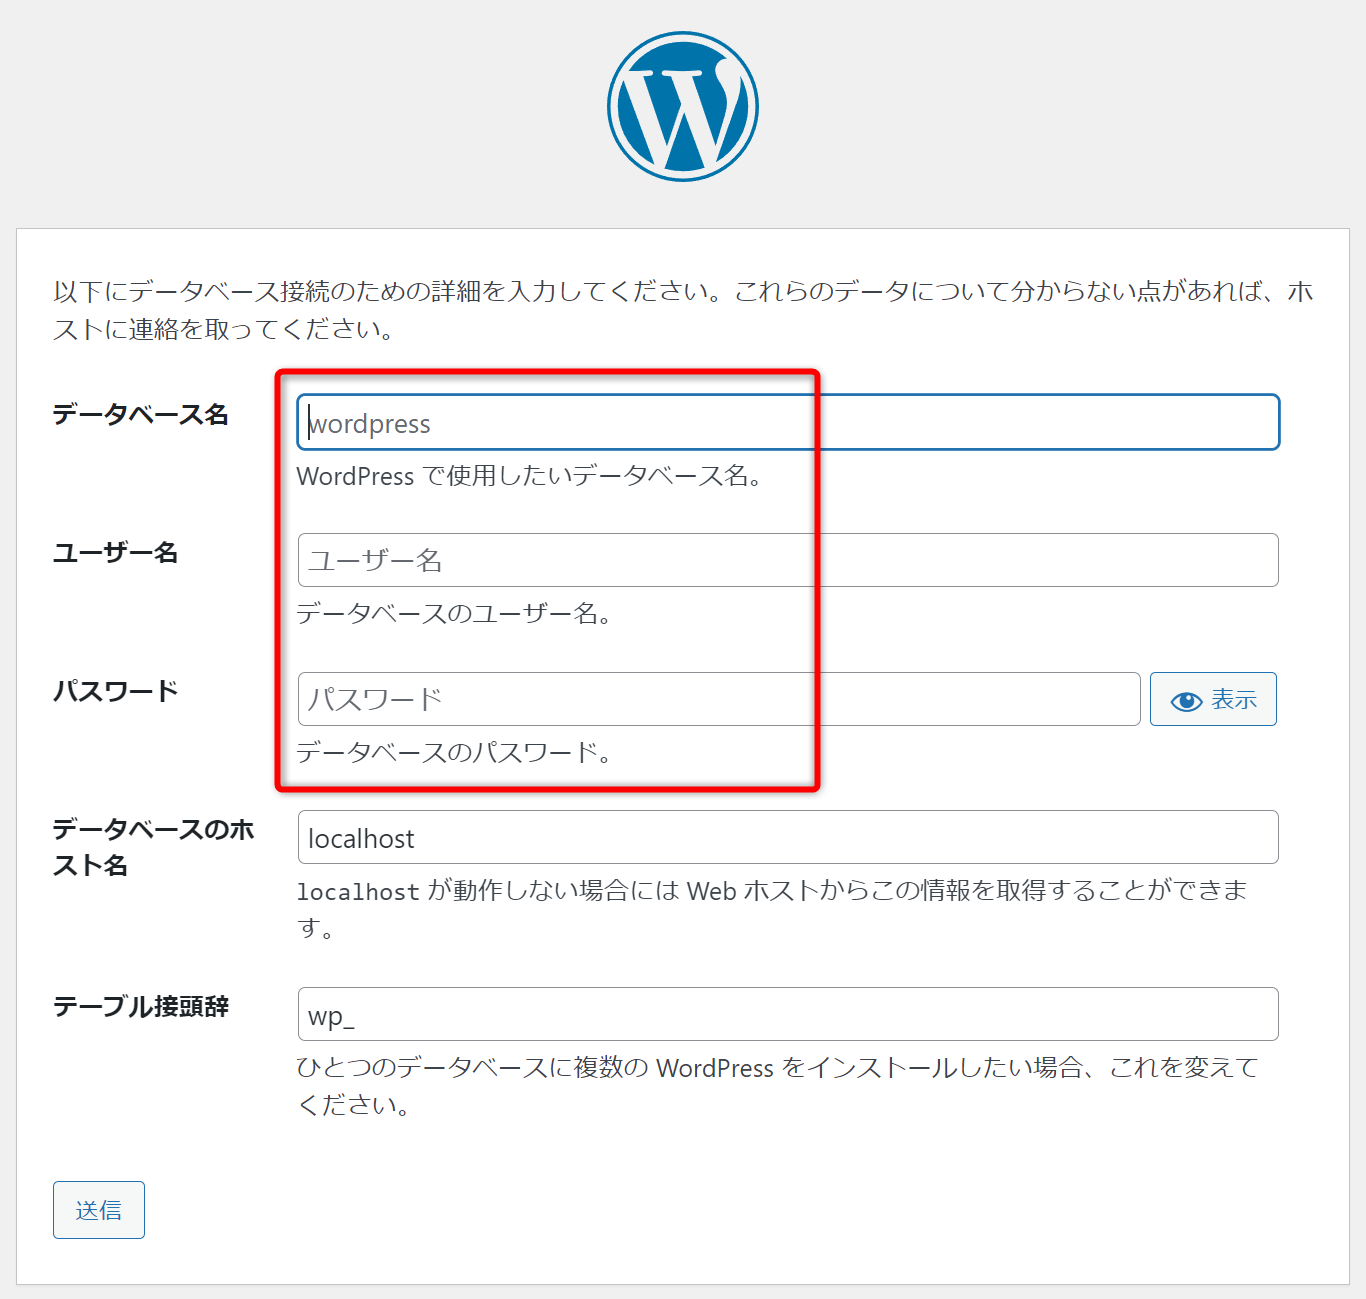
入力できたら「送信」をクリックしてください。
「インストール実行」をクリックしてください。

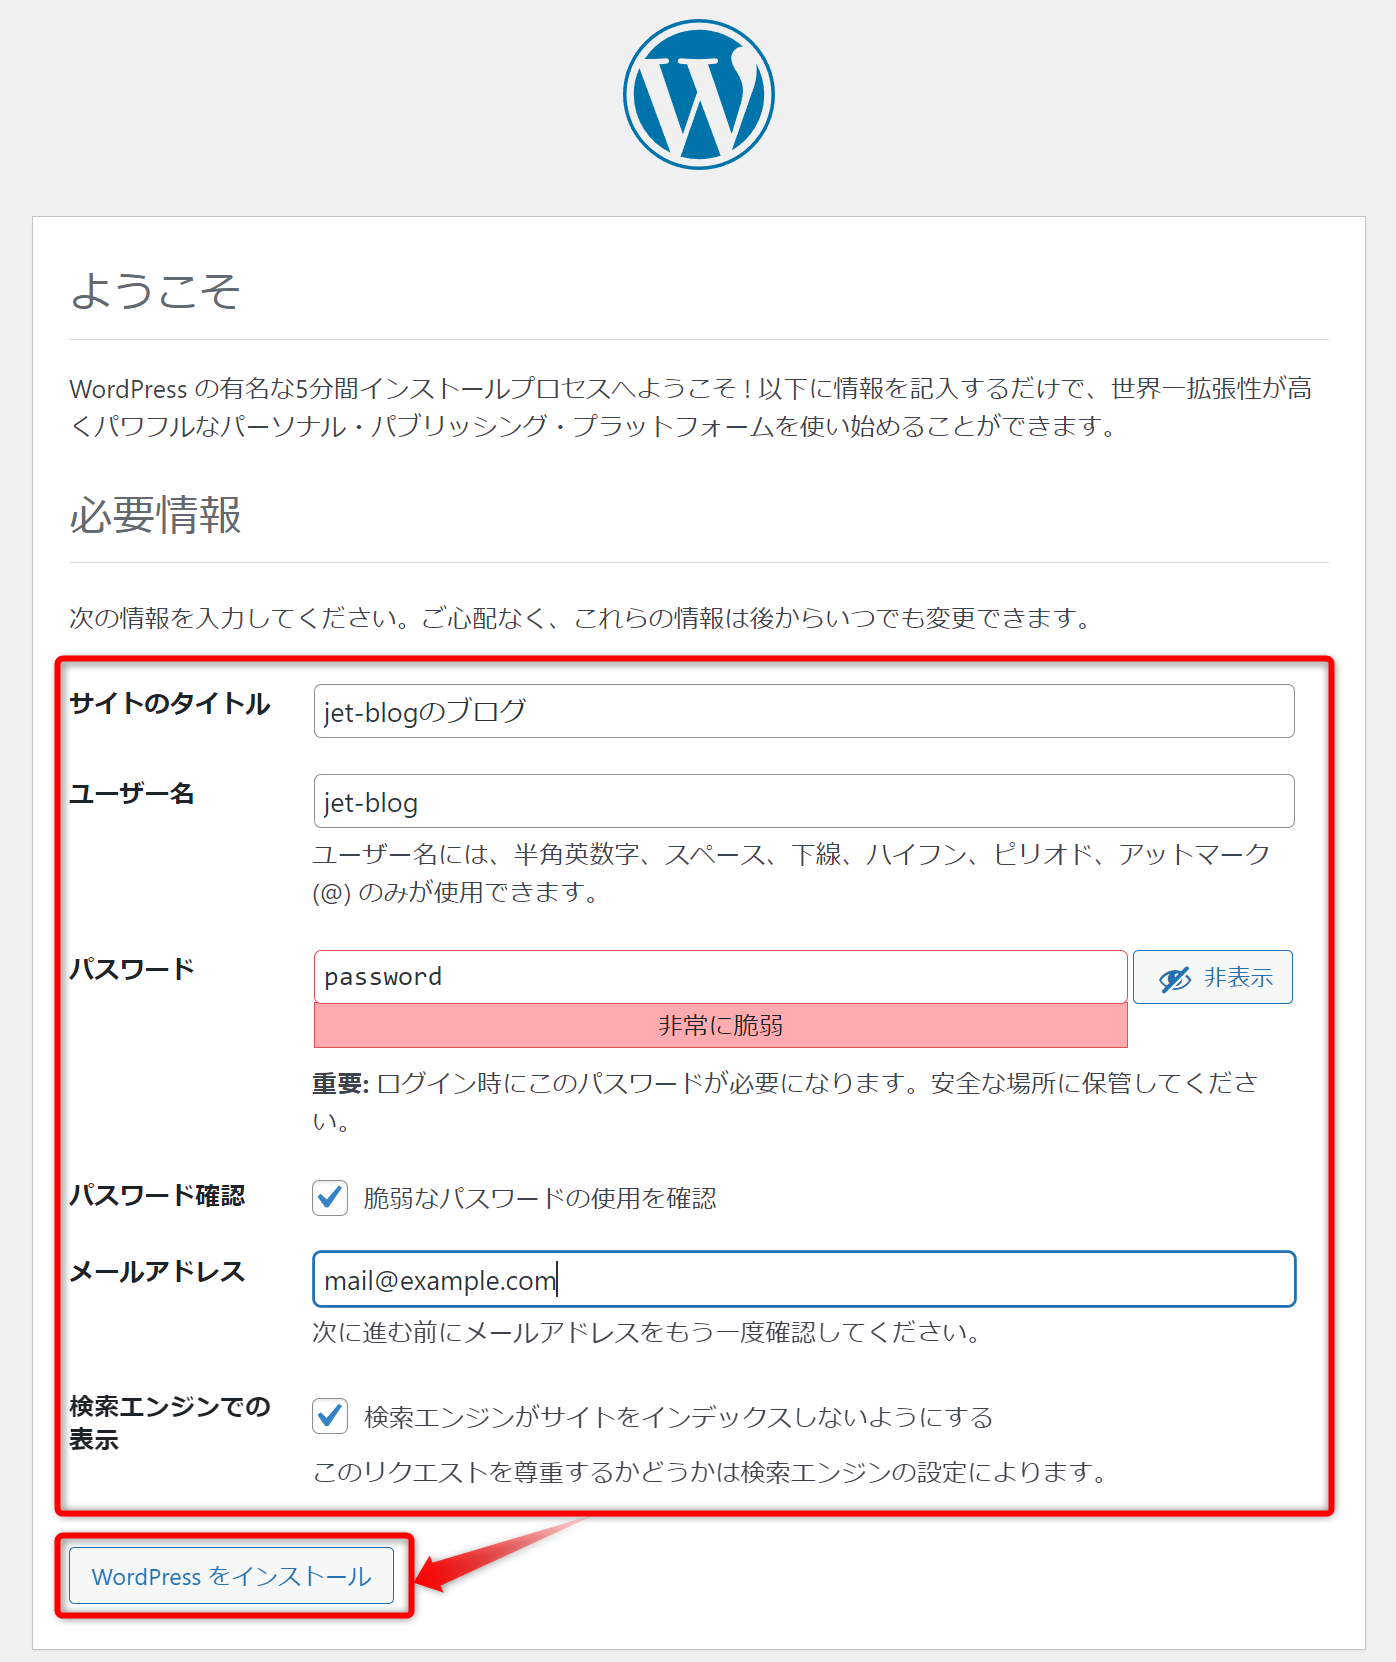
サイトのタイトル : お好きなタイトル名を入力
ユーザー名 : お好きなユーザー名を入力
パスワード : お好きなパスワードを入力
メールアドレス : お好きなメールアドレスを入力
検索エンジンでの表示 : 今回はチェックを入れます。

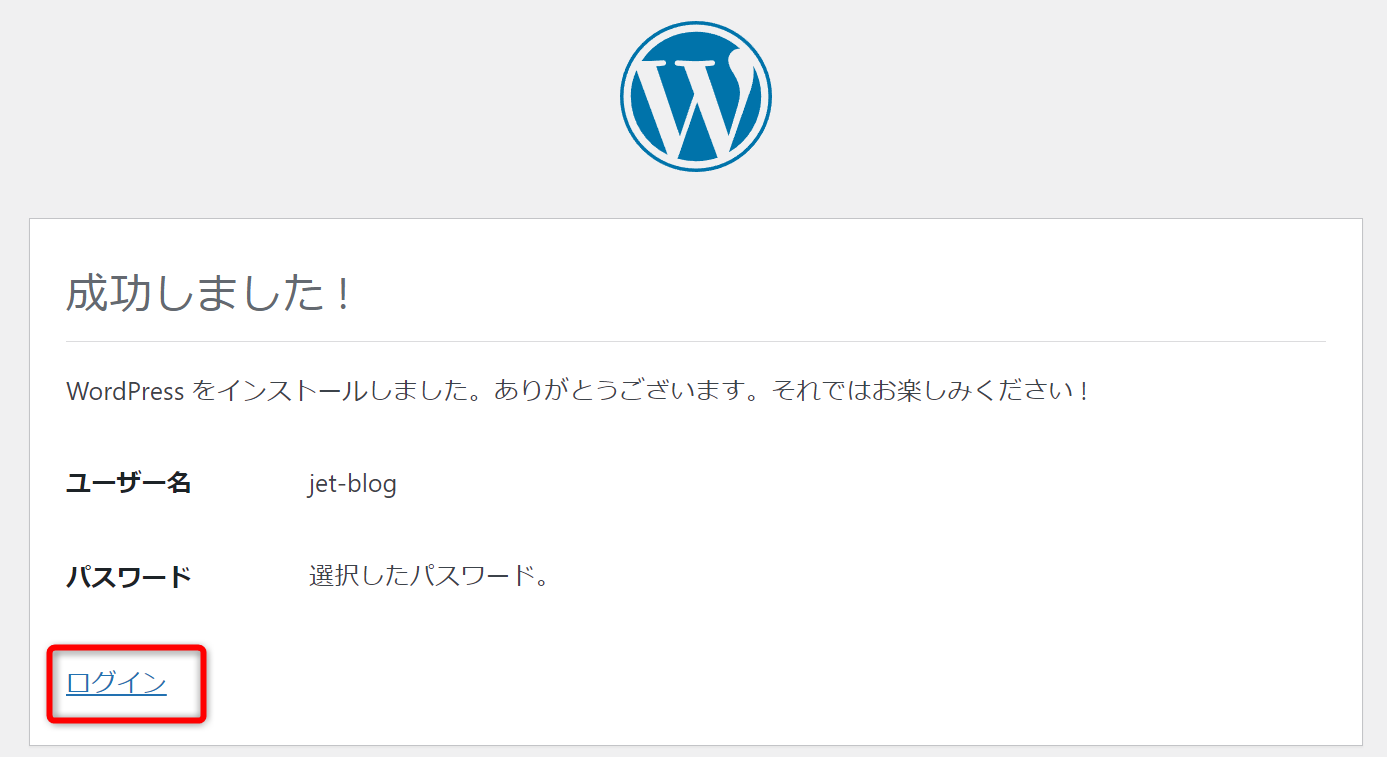
入力できたら「WordPress を インストール」をクリックしてください。
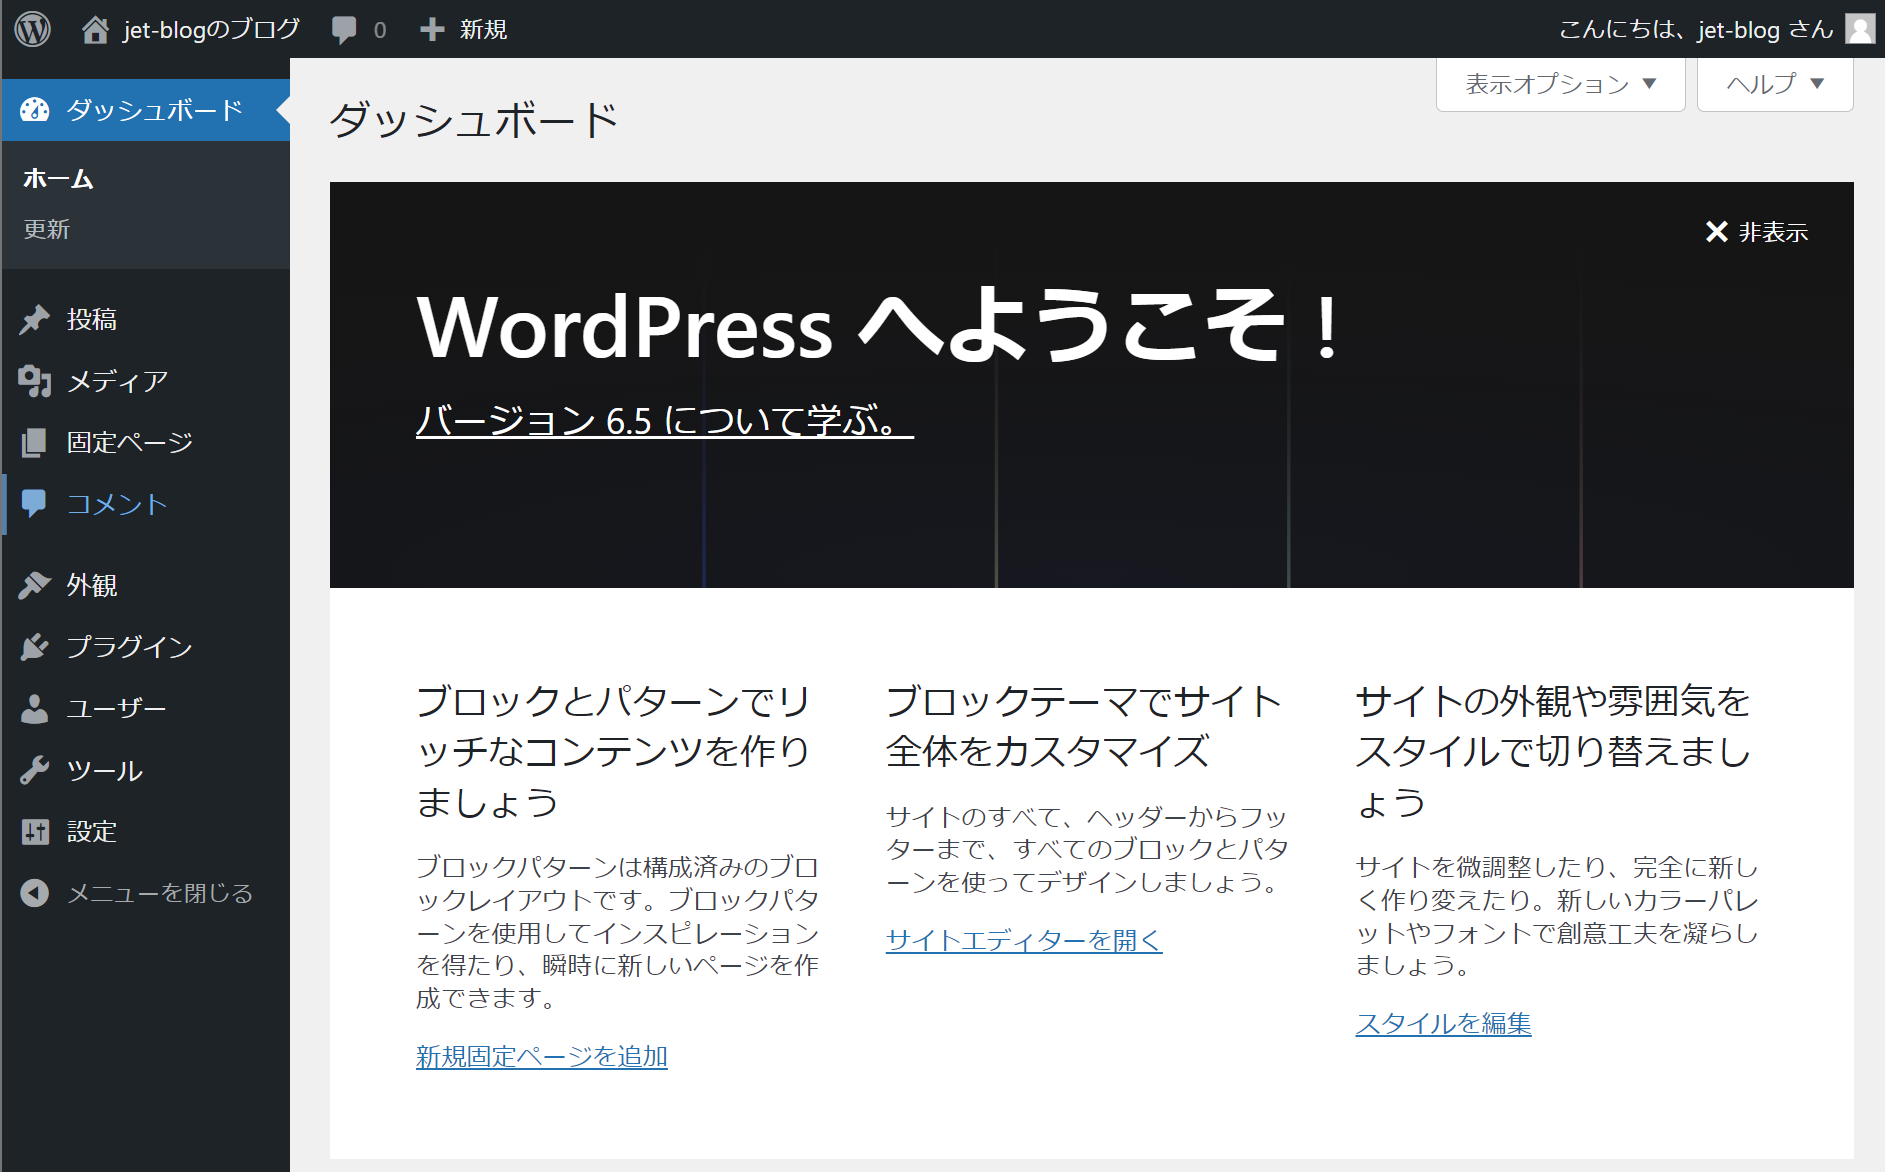
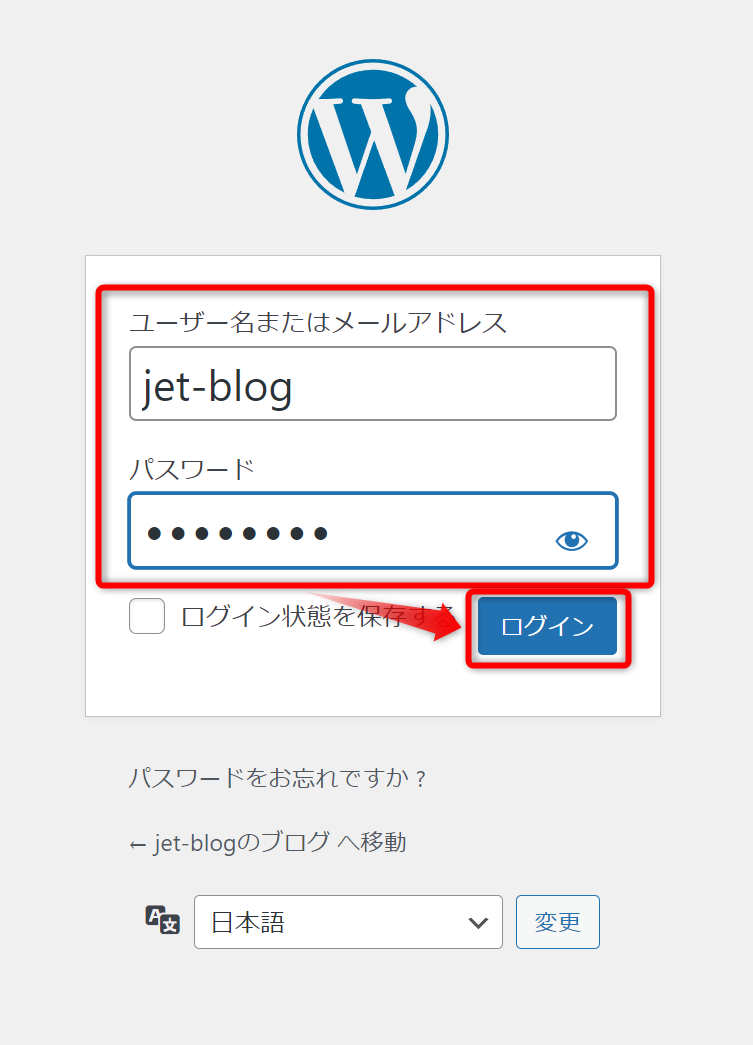
早速ログインしていきましょう。
さきほど作成したユーザー名とパスワードを入力して、「ログイン」をクリックしてください。
WordPressのインストールが成功しました。